Collections
In RR, items are categorised into one or more Collections. A Collection is similar to the concept from the fashion world: a group of related items that share design language or have cohesion in some manner.
Items can belong to more than one Collection if you like, but all items must belong to at least one Collection to be found and purchased by your patrons.
Anatomy of a Collection
The following fields are part of every Collection in your storefront.
Parent
You can create a hierarchical tree of Collections by choosing a parent. If you don't choose a parent for your Collection, it will belong to the "top level" and show up on your storefront's home page and top navigation.
Name
Give some thought to the name of your Collection, as it will serve as the title of the Collection's page, and show up in the 'breadcrumb' link on each item's page that is a part of the Collection.
Tip: Don't include the word 'Collection' in the name of the Collection. RR will automatically add the suffix 'Collection' where applicable.
Description
Your description will show in the Collection's page, and also be used for the Meta Description of the HTML page. This is important for SEO (Search Engine Optimisation). Make sure it includes important keywords so that Web surfers can find your storefront.
For example, a Collection that contains turquoise earrings might have a description of:
Buy elegant turquoise earrings from My Store Name in a variety of styles, including faceted drops and dangles. Goes great with any outfit!
URL
The URL of a Collection is also important for SEO. It should be all lower-case and use dashes instead of spaces. Again, since 'collection' will already appear in the URL, don't include the word Collection.
For our Turquoise Earrings collection example, a good choice might be
turquoise-earrings.
Photo
You can include a photo for the Collection which will be displayed above the collection name on the parent Collection's page, or the home page if your Collection is on the top level (no parent).
You don't have to include a photo, but photos can entice your patrons to explore further.
Your photo must be at least 800 × 800 pixels, and in JPEG, PNG, or WebP format. Usually, you will want the photo to be an example item from the Collection that showcases it, or perhaps a collage of multiple items.
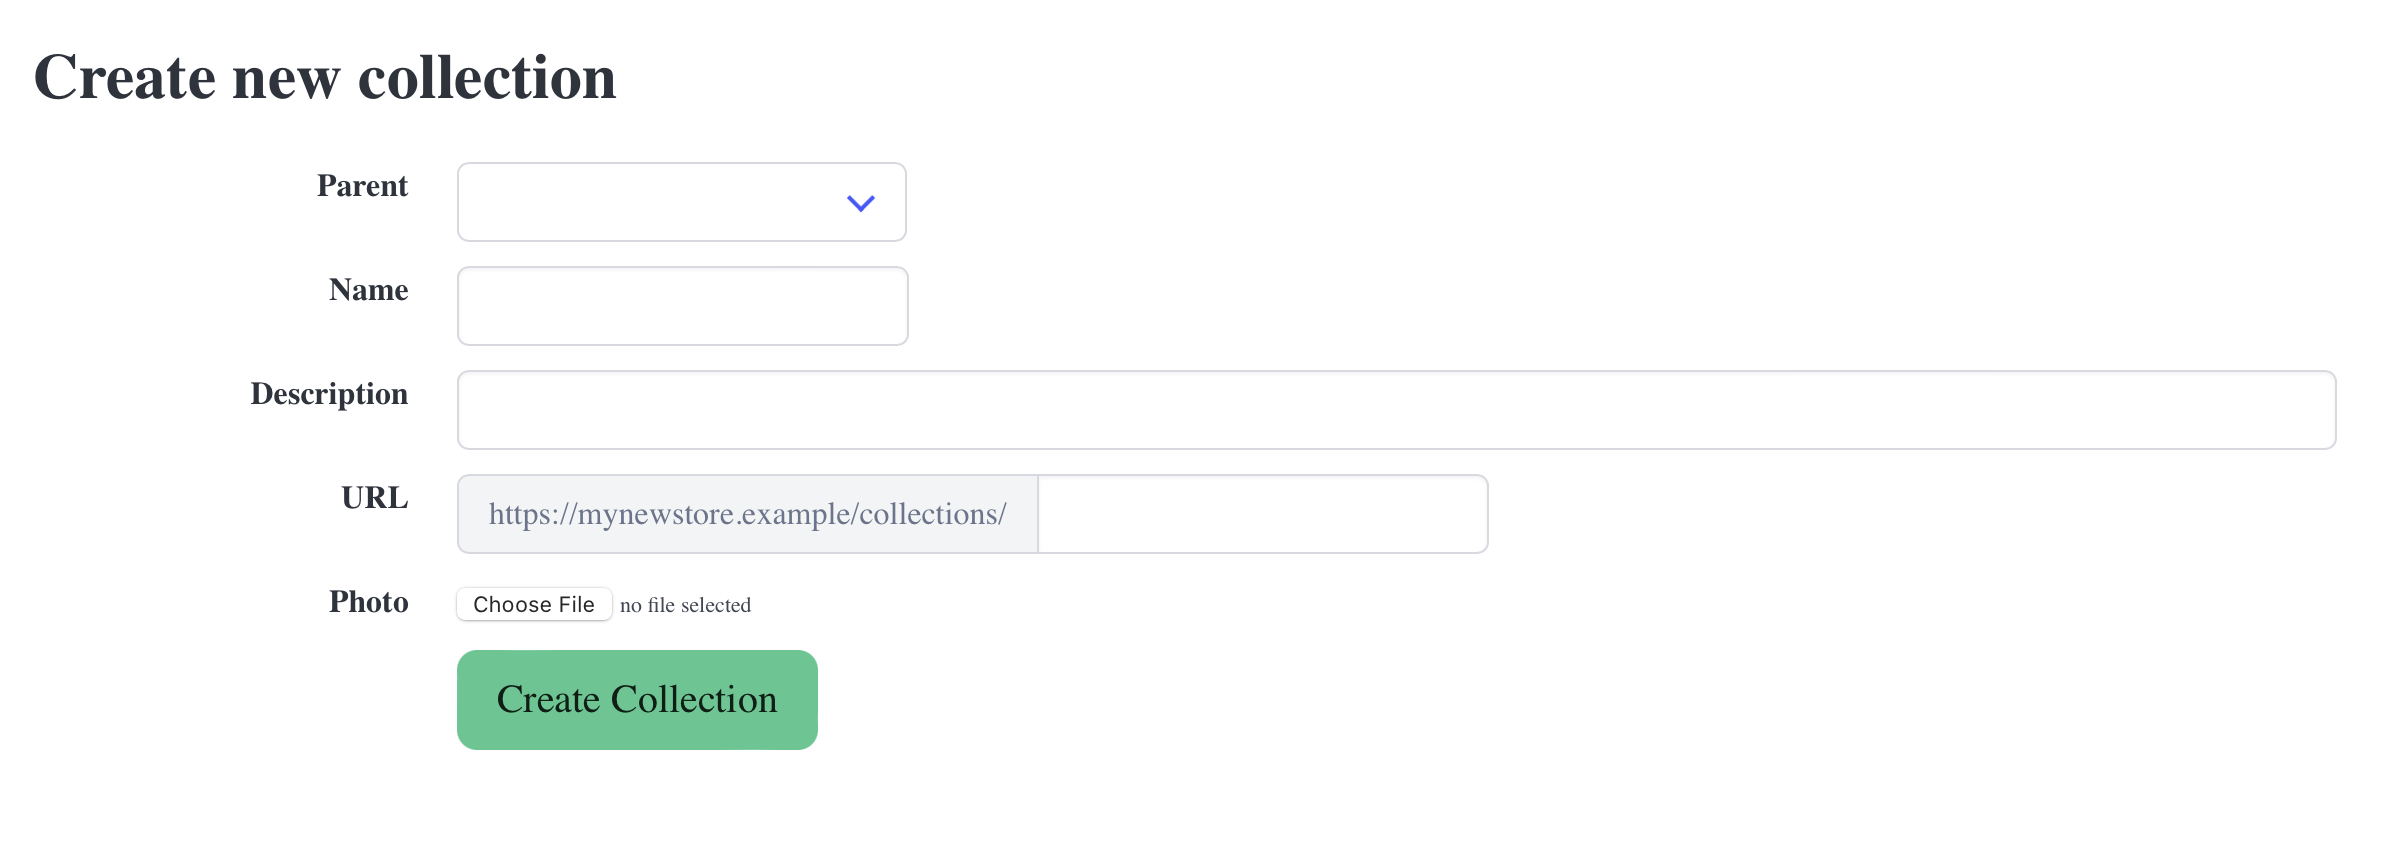
Creating a Collection
From the main Admin Dashboard or the Collection list, choose Add New Collection. The New Collection form will display.
Viewing Collections
From the main Admin Dashboard, choose View Collections. The Collection List will display. A summary of each Collection will be shown in its card.
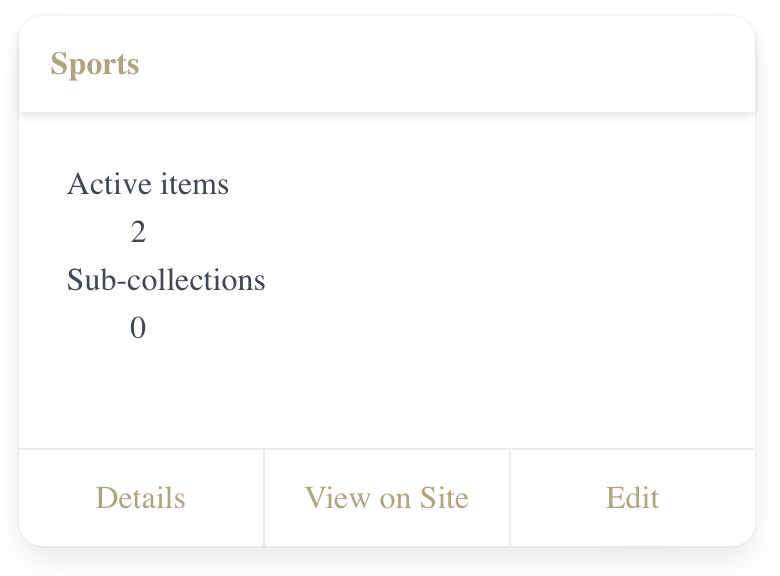
You can view more details about a Collection, including the items present in the Collection, by choosing its name or the 'Details' button at the bottom of its card.
You can view a Collection on your storefront by choosing 'View on Site' at the bottom of its card.
You can edit any of the fields of the Collection by choosing 'Edit' at the bottom of its card.
Collection Details Page
The Collection Details page contains information about the Collection, the items contained in the Collection, and quick action buttons to manage the Collection.
The name of the parent, if any, is linked to the details page of the Collection's parent. This makes it easy to 'travel up' your Collection tree.
The Public URL shows the URL for your collection, and is also linked to the Collection's page on your storefront. You can use this link to see your Collection as your patrons will see it, or send it to someone who is interested in seeing it.
Items
Each item contained in your Collection will be displayed in the Items section of the Collection Details page. Each item is hyperlinked to the item's page on your storefront, so you can easily view it or share it.
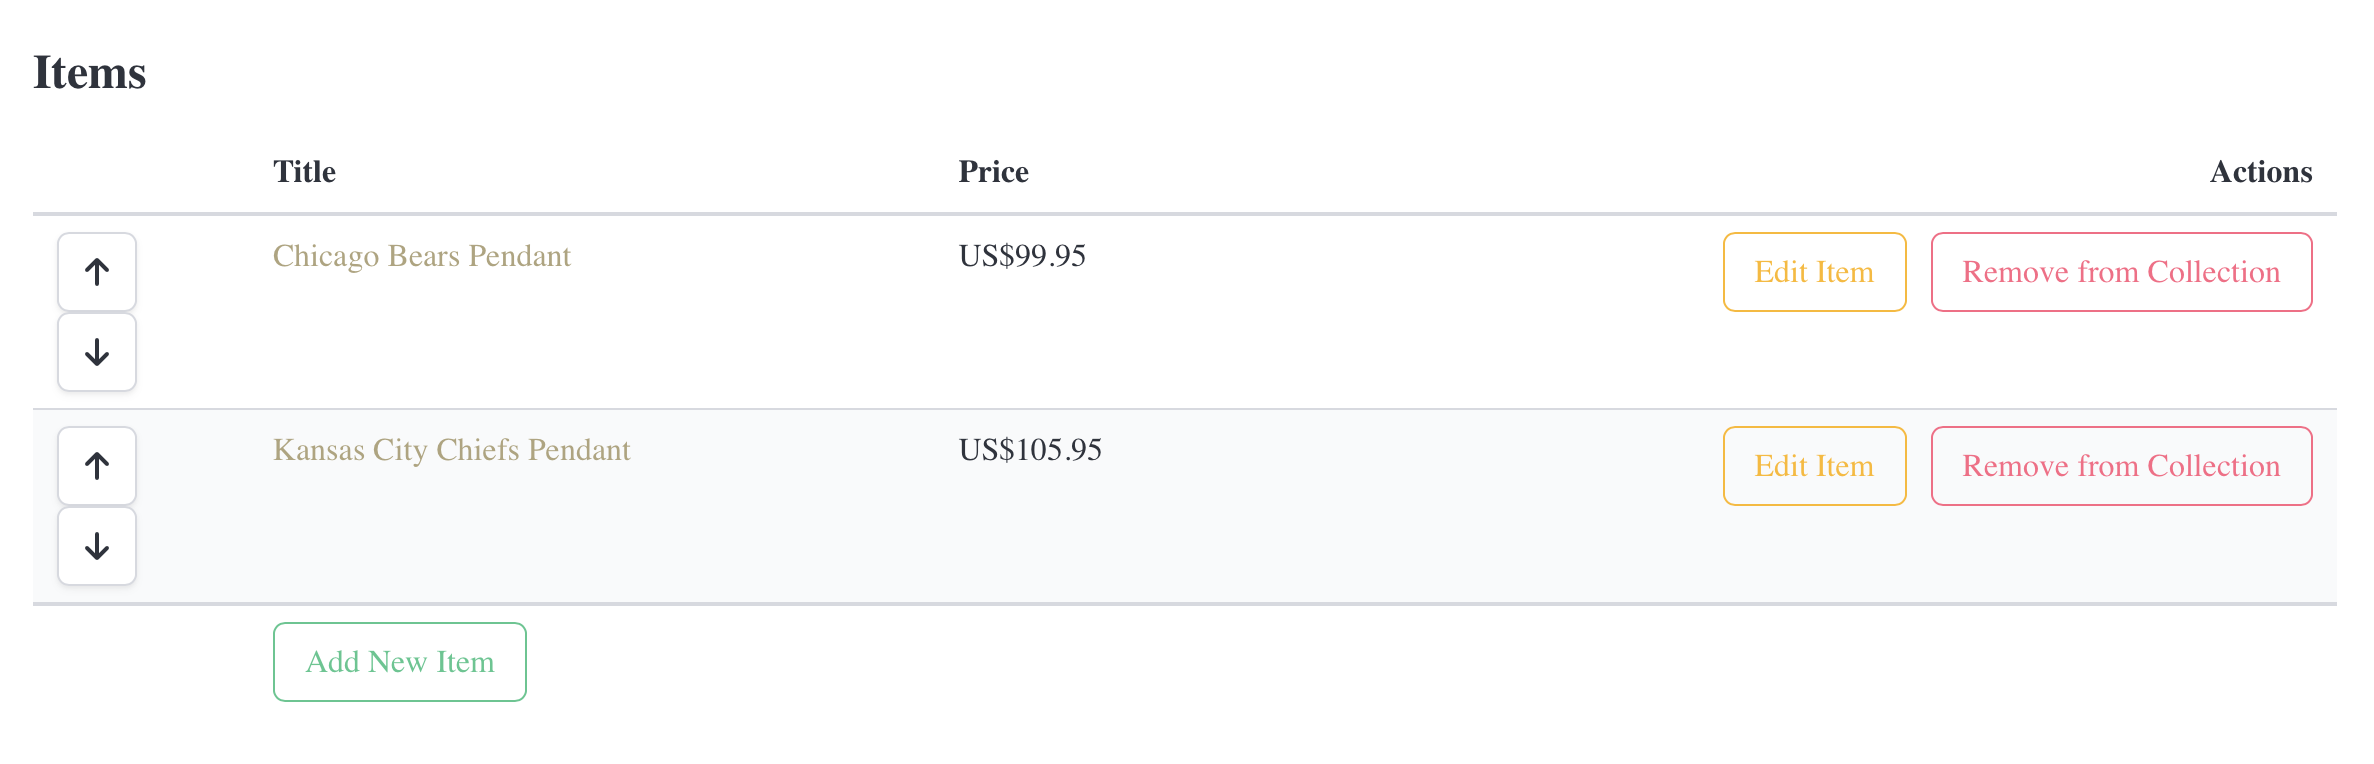
Actions allow you to quickly edit an item directly from the Collection Details page. You can also remove the item from the Collection. Note that removing an item from a Collection does not remove the item from your storefront and it won't affect other Collections that contain the item.
There are directional arrow buttons next to each item. This allows you to reorder the items within the Collection. If you want to highlight a specific item, you can move it to the top of the Collection's page.
You can also choose 'Add New Item' from the Collection Details page to start creating a new item with this Collection already chosen for you in the New Item form.